


Harness guide
Size it. Fit it. Walk it.
Which size to order, how to put it on, and how the front ring stops the pulling. For the Team K9 Tactical No-Pull Harness.
- Free size exchanges for 60 days
- 60-day guarantee


What it's made of
Built for dogs that pull.

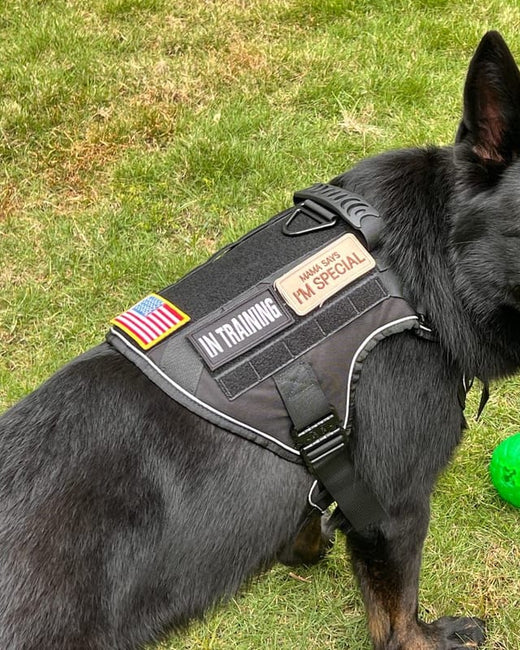
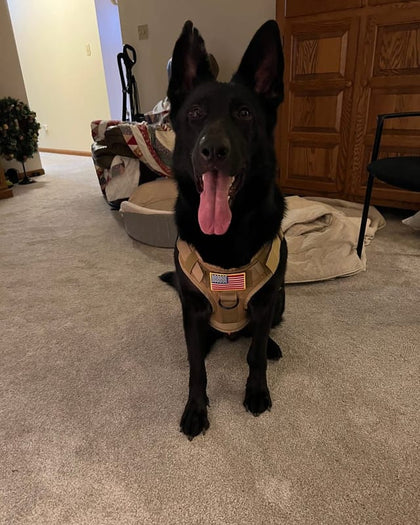
1050D ballistic nylon
The same material used in military tactical gear. Durable and weather-resistant.
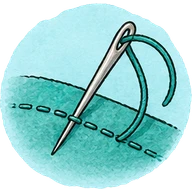
Triple-stitched stress points
Every stress point is triple-stitched. Built to handle strong pullers.
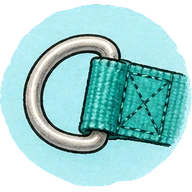
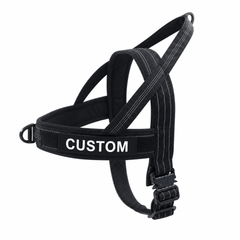
Two leash points
A front D-ring for no-pull training and a back V-ring for regular walks.
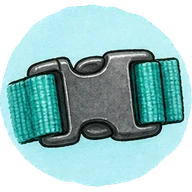
Four metal buckles
Four metal buckles with locking adjusters, so the fit can be set to your dog's shape.
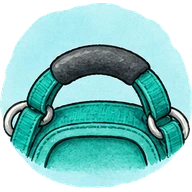
Control handle
A padded handle on top for a quick grab in busy places or emergencies.
Reflective trim
Reflective stitching all the way around, for early morning and evening walks.
Read this before the first walk
For leash walking only.
Do not tether your dog in this harness
Tethering is widely discouraged by Team K9 because it poses serious risks to your dog's safety, including injury from entanglement, choking, and the extreme force loads created when a dog lunges against a fixed anchor. A dog hitting the end of a cable at a run can exceed several hundred pounds of force, far beyond what any walking harness is designed to handle.
Our harnesses are engineered exclusively for leash-walking. Never tie out, stake, or attach this harness to any fixed anchor point.

Designed for leash walking
Daily walks, hikes and outdoor adventures with a hand-held leash. This is what the harness is built for.

And no-pull training
Use the front D-ring to gently discourage pulling during on-leash training sessions.
Never use it for
- Tethering or tie-outs: risk of severe injury from lunge forces
- Staking to a fixed anchor: entanglement and choking hazard
- Unsupervised restraint: the harness should only be worn during supervised activities
- Zip-lines or overhead runs: they create dangerous snap-back forces
Warranty note: damage caused by tethering, tie-outs, or any use other than leash-walking is not covered under warranty.
Sizing
Which size?
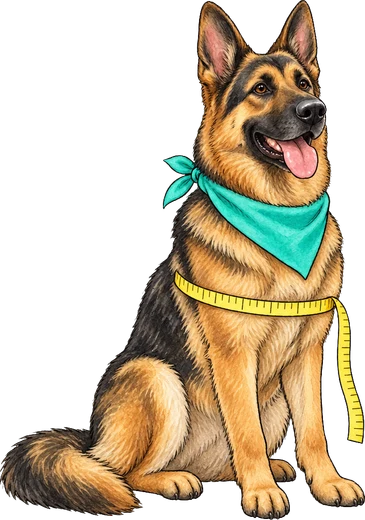
You'll need a flexible tape measure, the kind used for sewing. Have your dog stand naturally and measure:
- A ChestMeasure horizontally across the chest, from the front of the fore-legs to the back of the neck. This is the widest part.
- B MidsectionMeasure around the widest part of the midsection. This goes around the belly area behind the front legs.
- C WeightUse your dog's weight as a secondary reference if measurements fall between sizes.
| Size | Chest (A) | Midsection (B) | Weight |
|---|---|---|---|
| Extra Small | 14–22" | 18–26" | 15–25 lbs |
| Small | 18–29" | 24–33" | 25–48 lbs |
| Medium | 26–34" | 30–40" | 48–78 lbs |
| Large | 30–42" | 34–45" | 78–120 lbs |
| X-Large | 29–44" | 37–48" | 120–170+ lbs |
Between sizes? Size down. Our harnesses are adjustable. If your dog's measurements fall between two sizes, choose the smaller size for the best fit.
This chart is for the Tactical harness. The Classic and Lightweight harnesses have their own charts: Classic size guide · Lightweight size guide · Sizing by weight

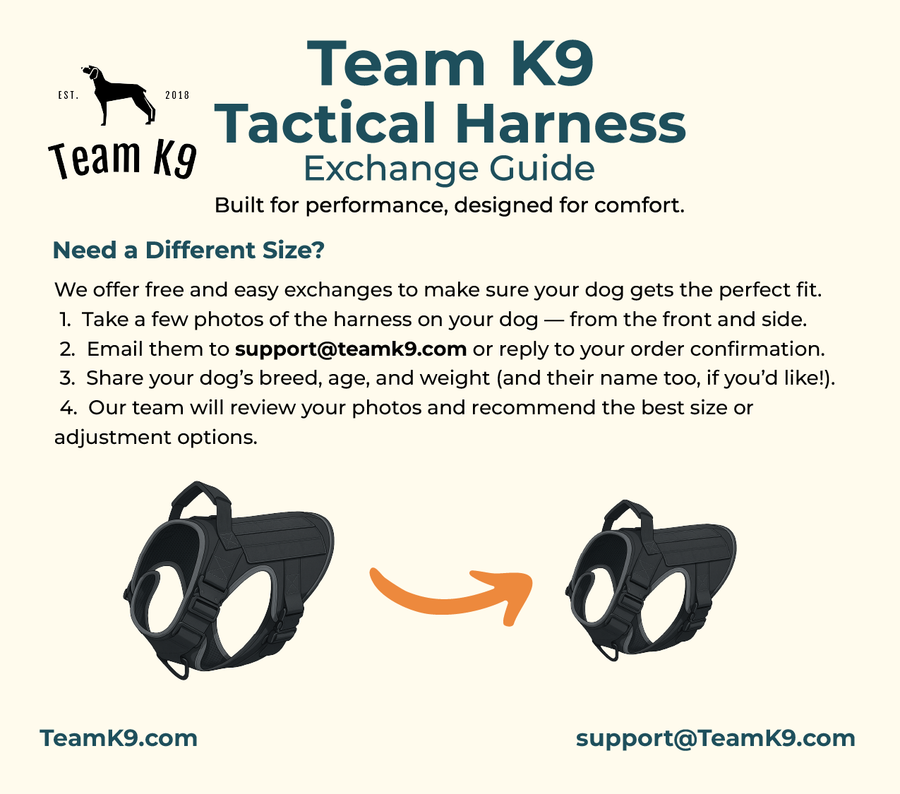
Free size exchanges. Not sure about sizing? Order with confidence. Size exchanges are free within 60 days. How exchanges work

See the exchange steps
Step by step
Put it on in seven steps.
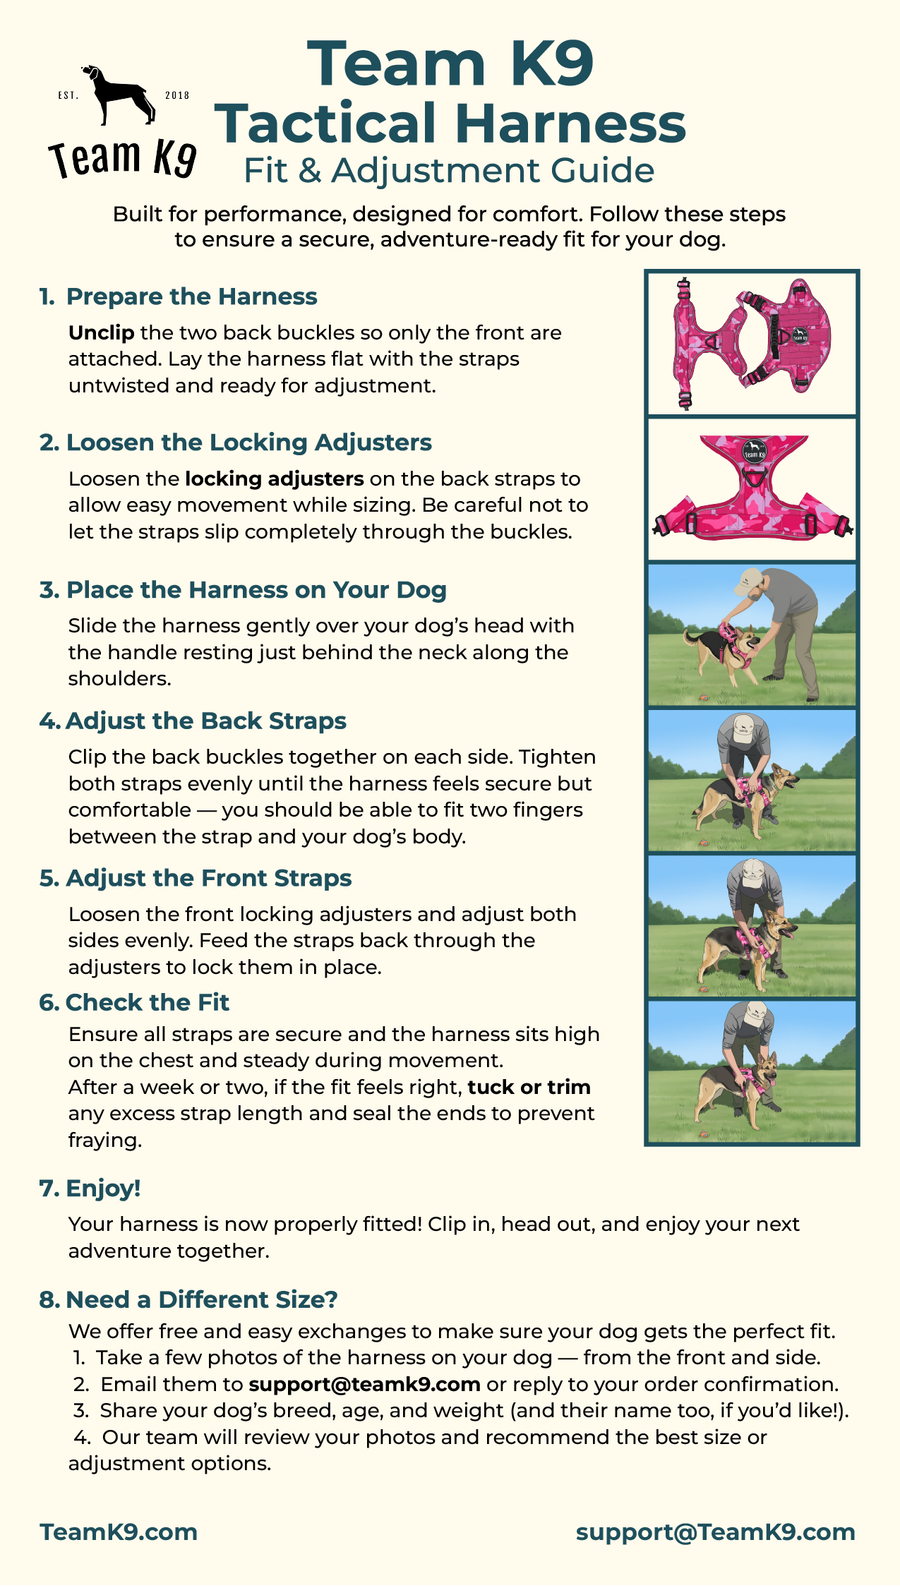
- Prepare the harness. Unclip the two back buckles so only the front buckles are attached. Lay the harness flat with straps untwisted.
- Loosen the adjusters. Loosen the locking adjusters on the back straps to allow easy movement. Be careful not to let straps slip completely through the buckles.
- Place it on your dog. Slide the harness gently over your dog's head with the handle resting just behind the neck along the shoulders.
- Adjust the back straps. Clip the back buckles together on each side. Tighten both straps evenly until secure but comfortable. You should fit two fingers between the strap and your dog's body.
- Adjust the front straps. Loosen the front locking adjusters and adjust both sides evenly. Feed the straps back through the adjusters to lock them in place.
- Check the fit. Ensure all straps are secure and the harness sits high on the chest and stays steady during movement.
- Tuck the extra strap. Once the fit feels right, tuck any extra strap into the elastic bands. Please don't cut or heat-seal the straps. You may want that length as your dog grows or for a different fit.
 ▶ Watch the fit tutorial
The fit checklist
- Two-finger test: you can fit two fingers between harness and dog's body
- Chest strap high: the front strap sits high on the chest, not near the armpits
- No rotation: the harness doesn't shift or rotate during walks
- Free movement: your dog can move, sit and lie down comfortably
- All buckles secured: all 4 metal buckles are clicked in place
See the printed fit guide
The step people skip
Loop and tuck the straps.
Securing and tucking the straps is the most important step for preventing escapes. Loose straps can let a dog slip out of the harness, get caught on objects during walks, create trip hazards and put unnecessary stress on the buckles.
- Ensure proper sizing. Measure chest and midsection correctly. The wrong size is a security issue.
- Tighten all 4 buckles. Each buckle should be snug but allow two-finger space.
- Loop and tuck excess straps. This is critical. The video shows the technique.
- Position the chest strap high. It should sit high on the chest, not near the legs or armpits.
- Test before walks. Gently try to lift the harness over the head. It shouldn't come off.
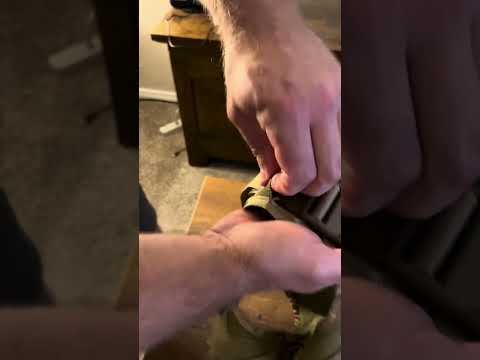 ▶ Watch the 2-minute loop and tuck
Common mistakes
- Too loose: it should be snug (two-finger test), not baggy
- Straps not tucked: excess straps must be looped and tucked
- Wrong size: too large lets a dog back out
- Only 2 buckles used: use all 4 buckle points
- Chest strap too low: it should sit high on the chest
No-pull
How the front ring stops the pulling.
- It redirects the pulling force. When your dog pulls, the front clip turns them back toward you instead of forward.
- The correction is gentle. No choking, yanking or harsh corrections needed.
- It discourages pulling. Dogs learn that pulling doesn't get them where they want to go.
- You get better control. You have more leverage from the front position.
Start with the front D-ring for all walks. Once your dog learns not to pull, move to the back V-ring for freedom and comfort.
Training tips
- Be consistent: use the front D-ring every time until pulling stops
- Stop when they pull: stand still when they pull, and only move forward when the leash is slack
- Reward good behavior: praise and treats when they walk nicely beside you
- Be patient: training takes time
Front D-ring: training
Use it during training sessions and with dogs who pull. It gives the most control and gently discourages pulling.
Back V-ring: casual walks
Use it for regular walks with trained dogs who don't pull. More comfortable for both of you on relaxed outings.
From the people walking them
Worn by dogs like yours.
-
“I have a 120lb tank of a chocolate English Lab, and on the first walk he stopped pulling.”
Daniel T. · ✓ Verified buyer
-
“I can’t believe how well made it is and how easy it is to adjust.”
Mary R. · ✓ Verified buyer
-
“It's very sturdy and we love the metal buckles - one of the reasons we bought it.”
Sandra S. · ✓ Verified buyer
-
“So easy to exchange for a smaller size- they were extremely helpful and super quick with the remedy.”
Michele F. · ✓ Verified buyer


★★★★★Every photo was sent in with a verified 5-star review.
Care
Keep it working.

Hand wash (recommended)
Fill a sink with cool water and mild detergent. Gently scrub, rinse thoroughly, and air dry completely.
Machine wash (gentle)
Use a gentle cycle with cold water and mild detergent. Place it in a mesh laundry bag for protection.
Do
Use mild detergent, air dry completely, check buckles regularly, and store it in a cool dry place away from pets.
Don't
Use bleach or harsh chemicals, put it in the dryer (air dry only), leave it in direct sunlight for extended periods, or let your dog chew it when not in use.
Warranty note: using bleach, high heat, or harsh chemicals may void your warranty if it causes damage.
Regular maintenance
- Inspect before each use: check buckles, stitching and D-rings for wear
- Clean regularly: wash every 2–4 weeks depending on use
- Store properly: hang or lay flat in a cool, dry place
- Keep away from pets: store out of reach to prevent chewing
When to replace it
- Frayed or split stitching at stress points
- Cracked or broken buckles
- Bent or damaged D-rings
- Significant tears in the fabric
- Straps that won't hold adjustment

Warranty. Our 60-day warranty covers manufacturing defects. Contact us if you have a problem. Warranty policy · Team K9 Support


Not sure of the size? Order anyway.
If the harness doesn't fit, the right size ships free. Size exchanges are free for 60 days.